Main content
CEB Mobile


CEB Mobile

Signing a document in CEB Mobile app
-
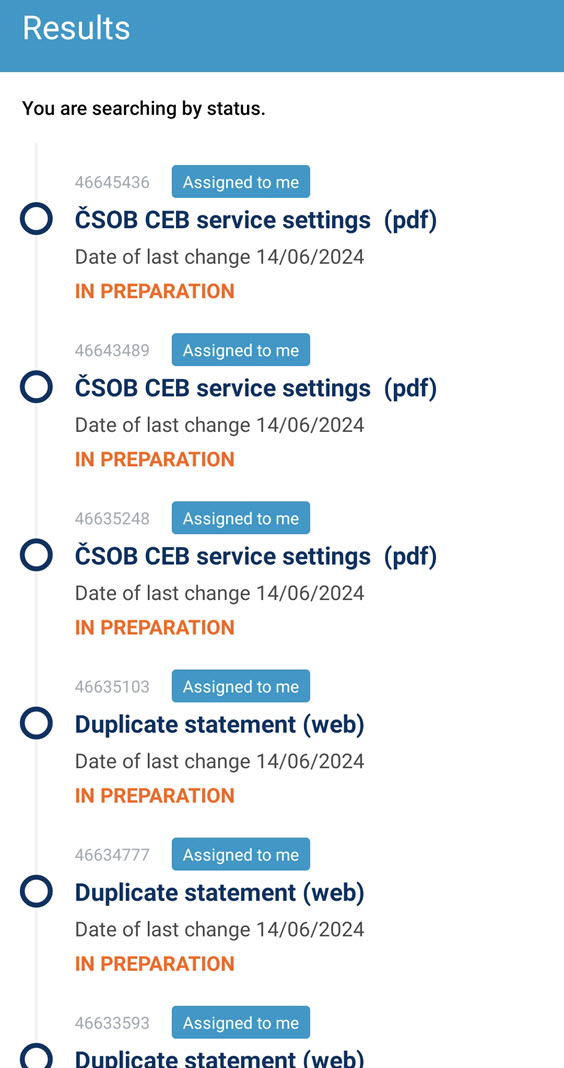
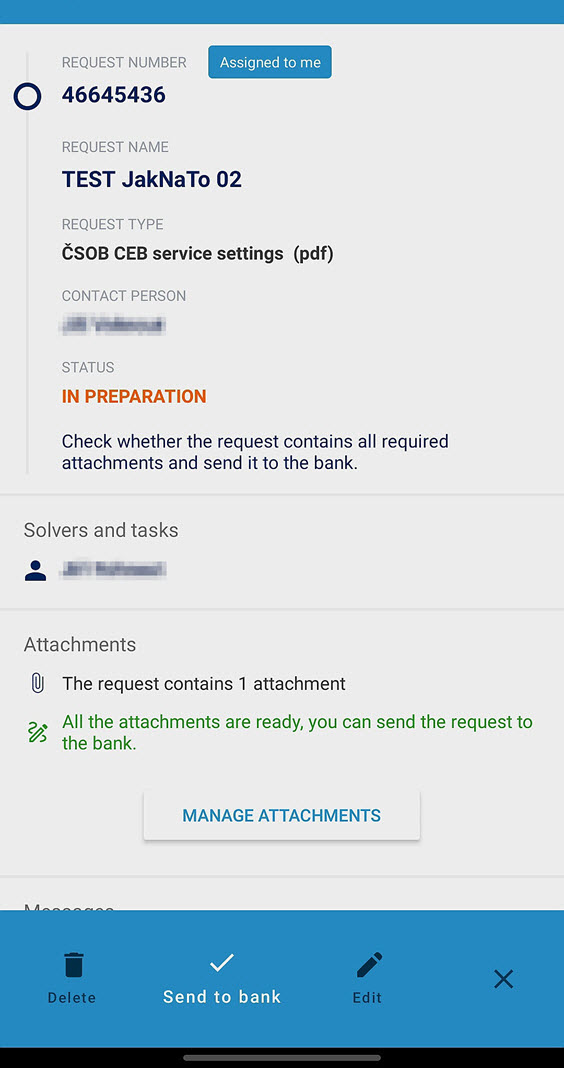
Get to the request you want to work with in the Virtual Branch in your mobile.
-
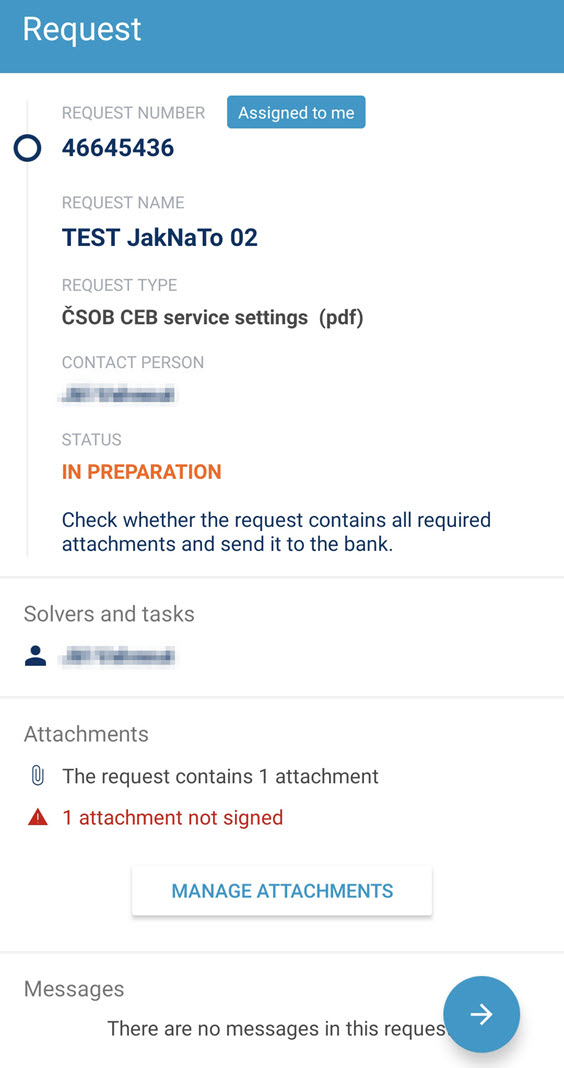
Head to the Manage attachments button to work with files within request.
-
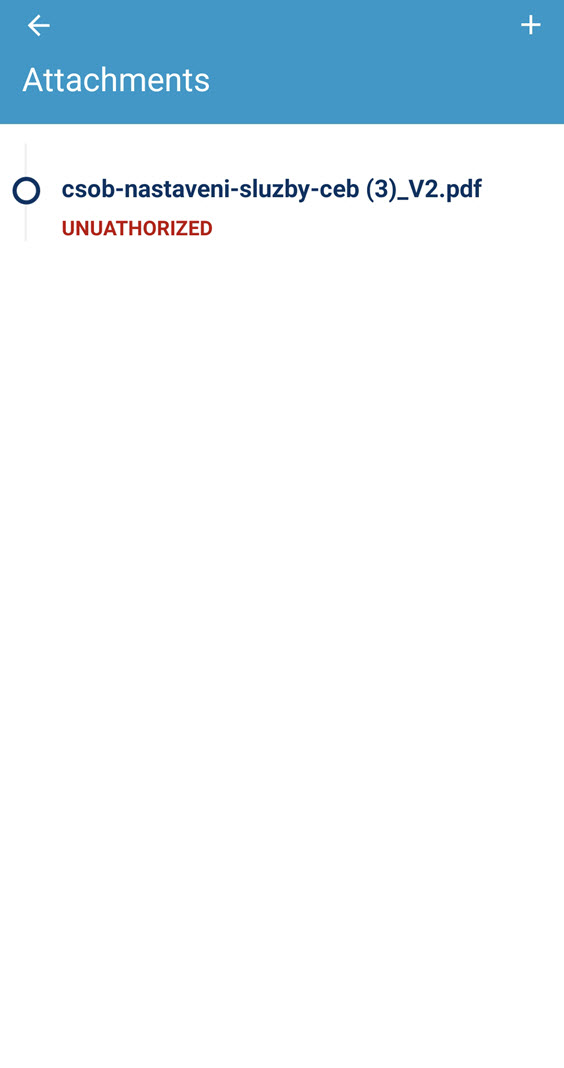
Choose the file you want to sign.
-
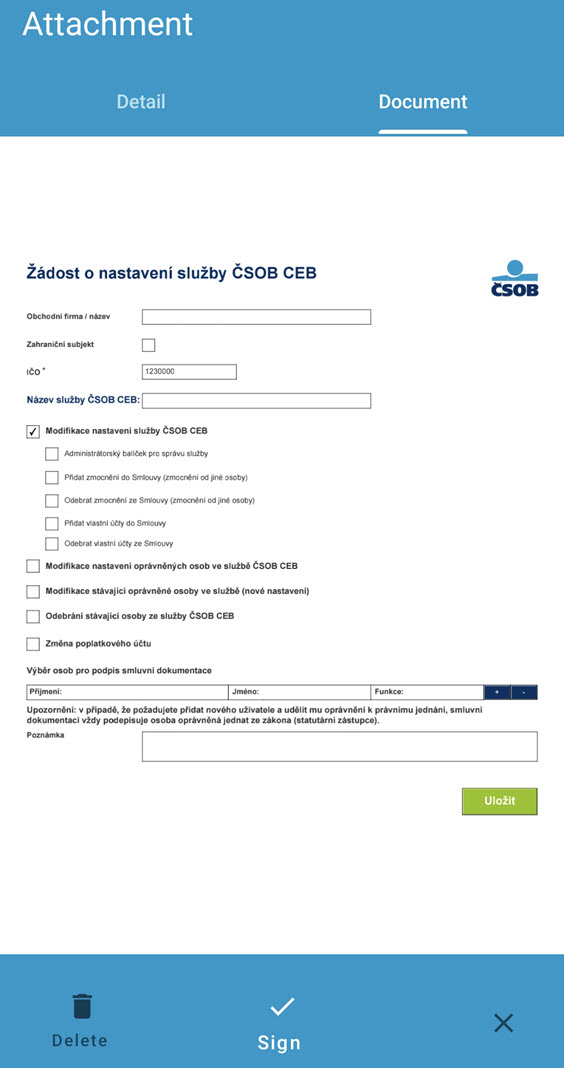
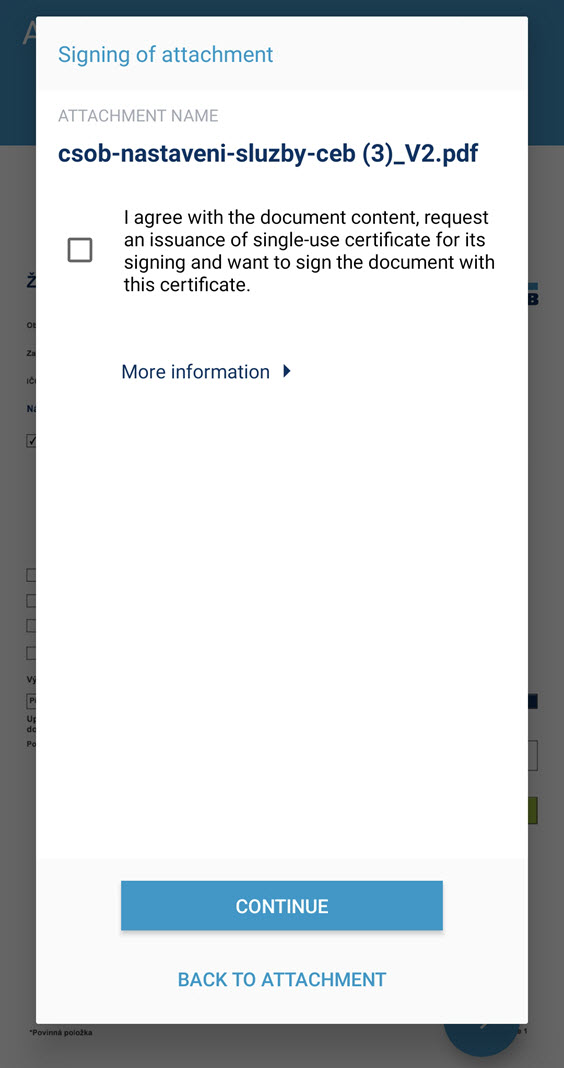
Overview of the attachment is shown so you can check the content, and Sign.
-
Continue will take you to the Smart key app, where Signing with your certificate will take place.
-
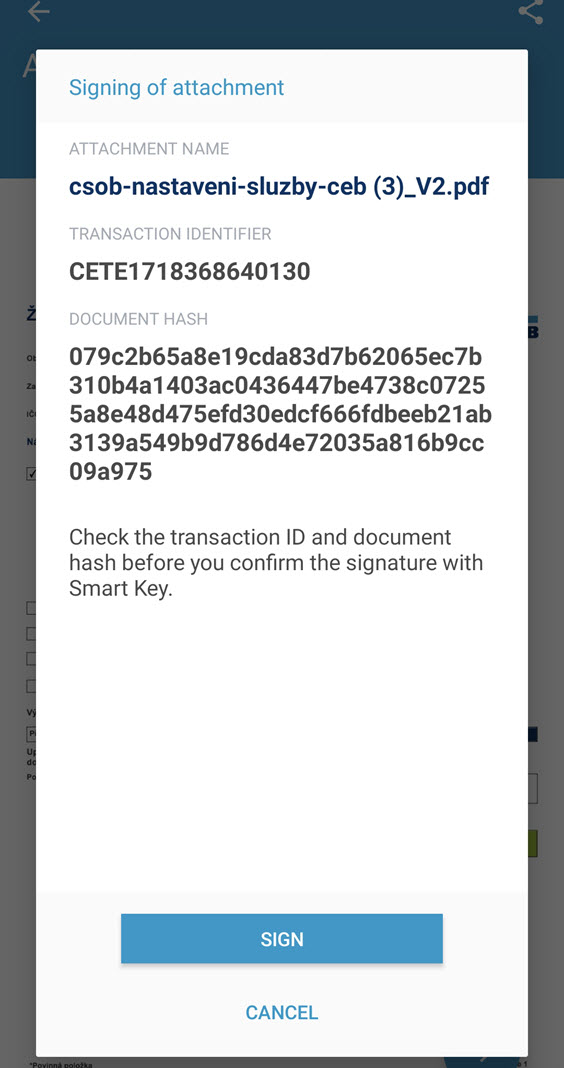
App will show the name of the file and hash for easier check. If everything matches, you can
Sign.
-
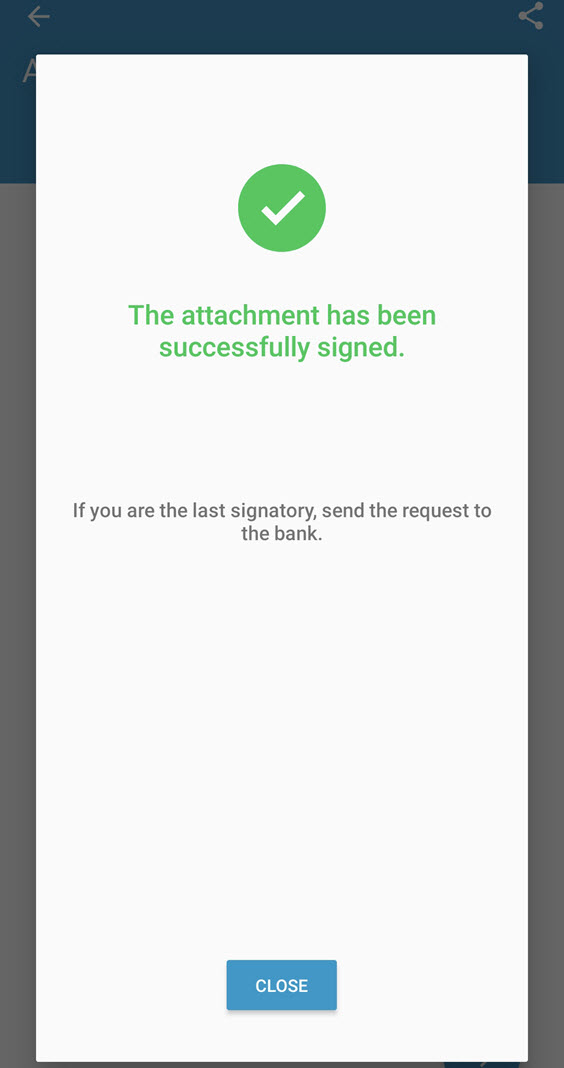
Done, signed. You can Close the Smart key window to return to the CEB Mobile app.
-
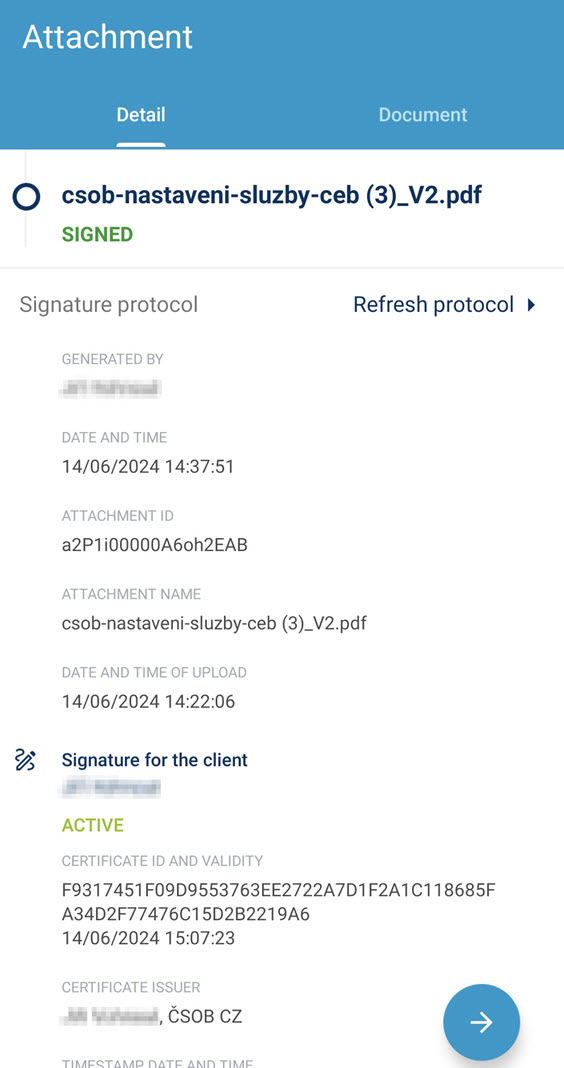
The document is signed now, the application will reveal the signature. Get back to the request level so
you can proceed further.
-
Should you be the only one to sign on behalf of your company, do not forget to – Send to bank. We
will process the document and changes inside as requested.
Notifications setup in CEB Mobile app
-
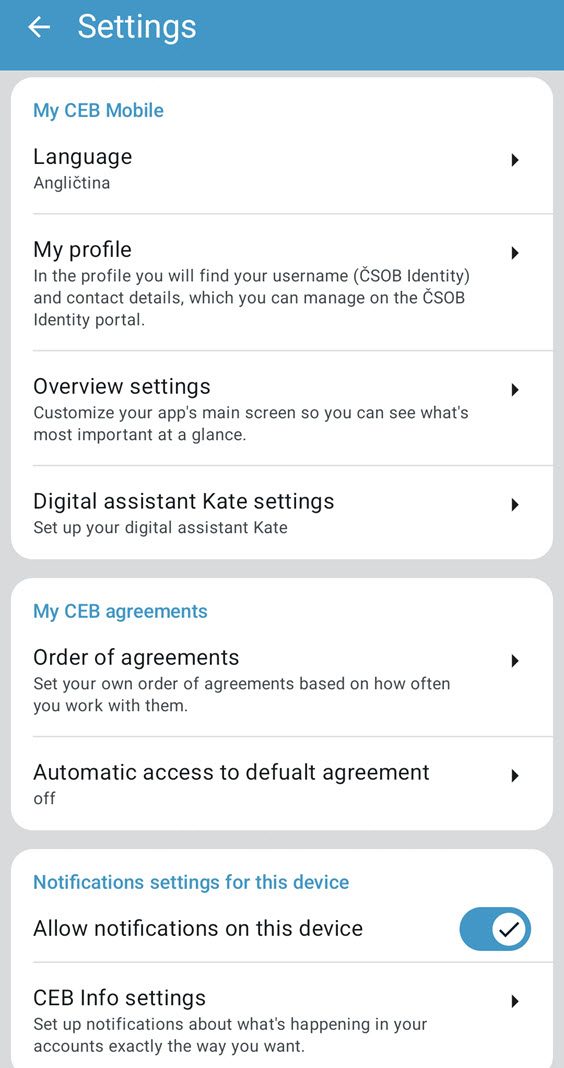
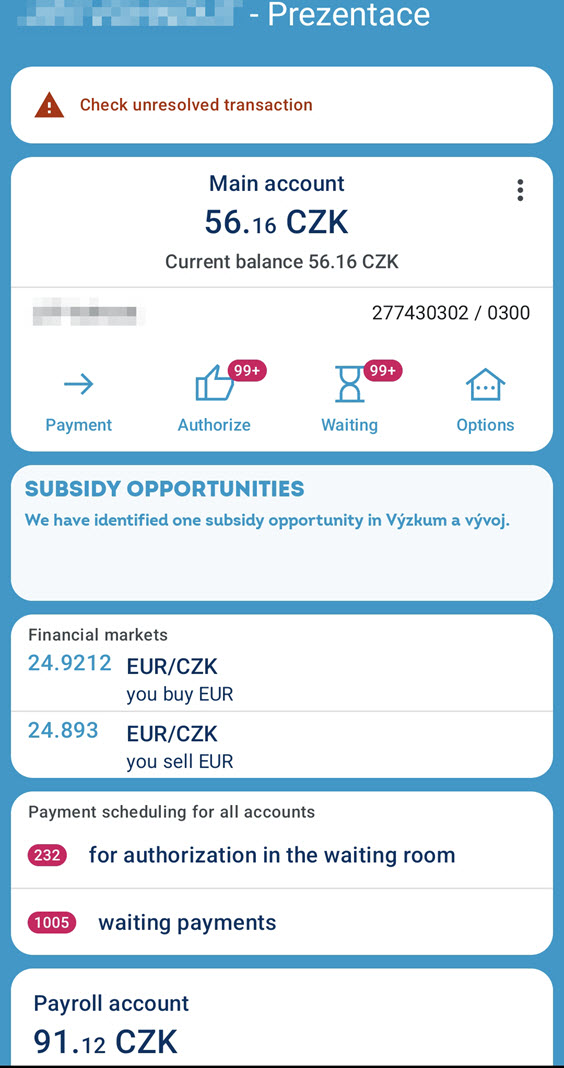
Open your CEB Mobile app and choose the gearwheel icon to go to the Settings of the application.
You can also use direct link to the CEB Info. Note that text and screens might be slightly
different dependent on platform being used.
-
Head for the CEB Info settings to setup notifications.
-
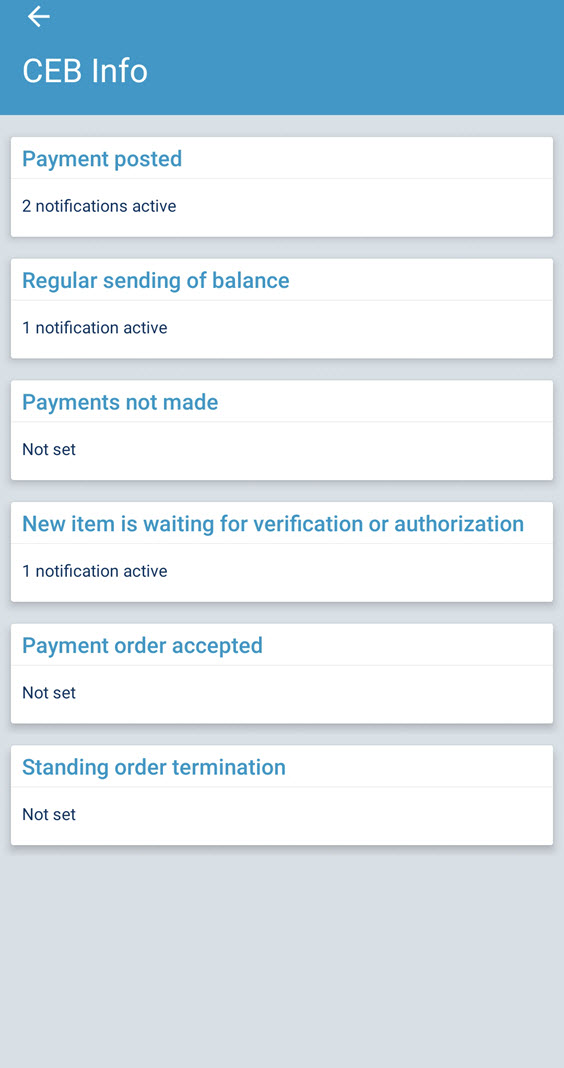
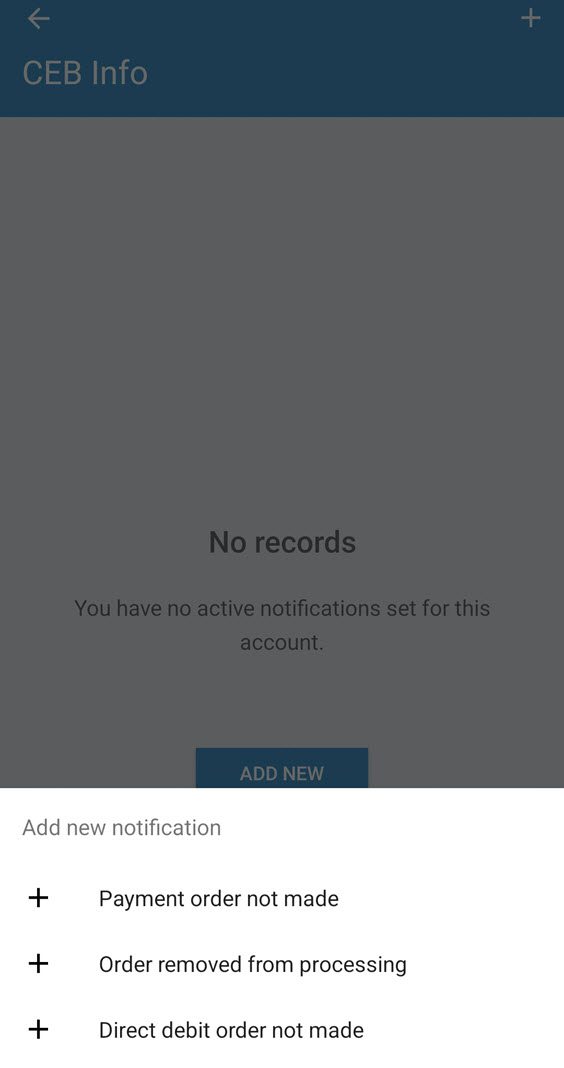
All available notifications will show, including number of those already setup. Choose the one to be
setup – in our example it will be Payments not made notification.
-
Choose the right account you will receive notifications for failed payments for.

-
Should there be no notifications set on this account yet, Add new one and continue.

-
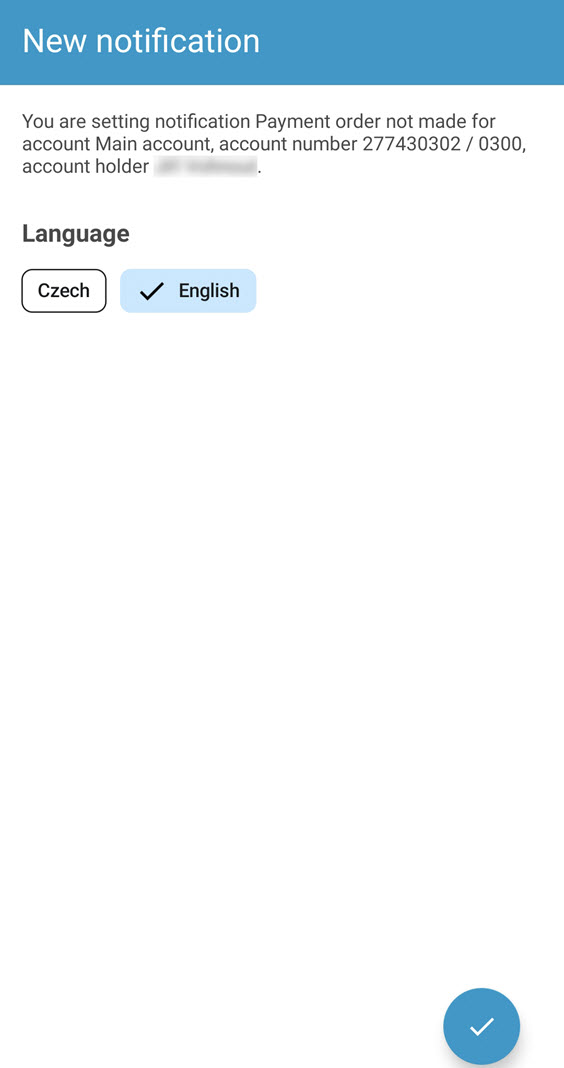
Choose attributes of a notification – situations where you wish to be notified
-
Last option is the language in which you will be notified – Czech and English
languages are supported.
-
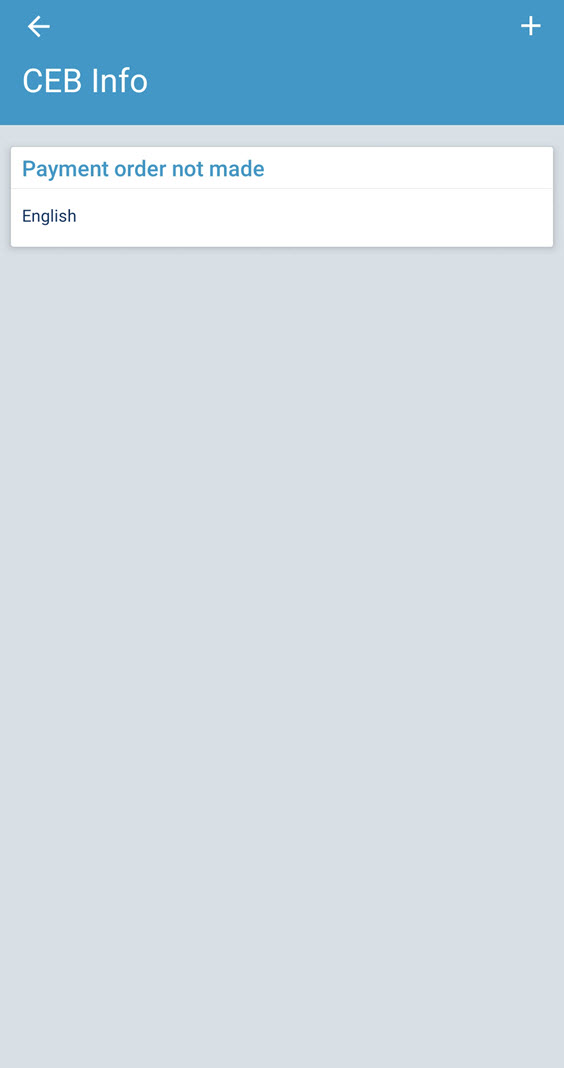
Last screen confirms the setup you just went through – and lets you check it again.
Getting to a statement in CEB Mobile app
-
View the account and choose its Options to get to the account detail.
-
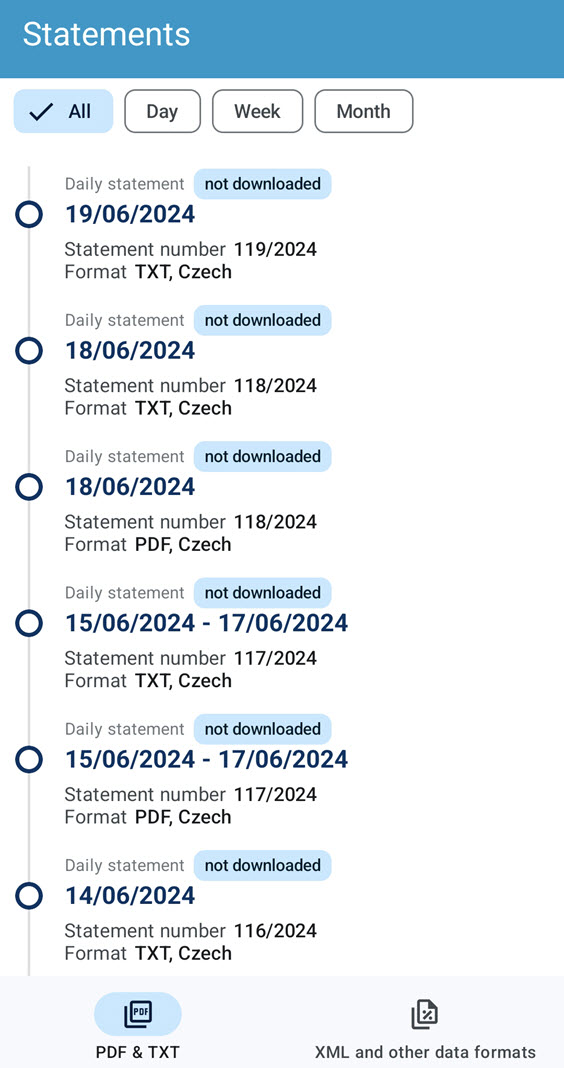
You can setup statements for this account, or just check the number of statements that were not
downloaded yet.

-
All the statements are displayed here, and can be filtered – either by time period, or by type (visual /
human readable statements or data extracts for ERP systems).
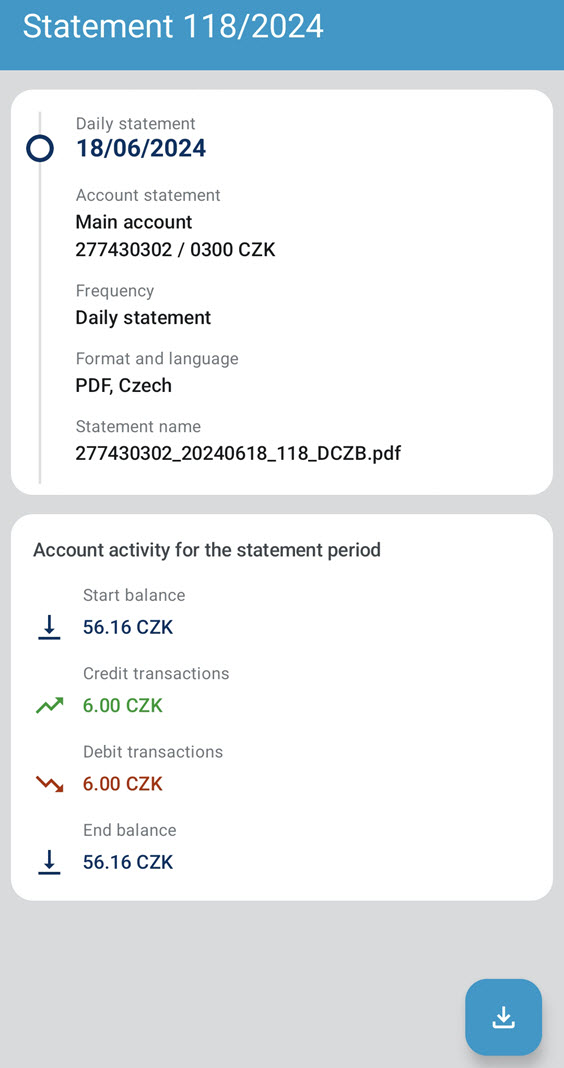
-
In the statements detail, there is an icon for downloading to your device. Dependent on the phone
setup, the statement might just download or also open in a dedicated application.
Payment confirmation in CEB Mobile app
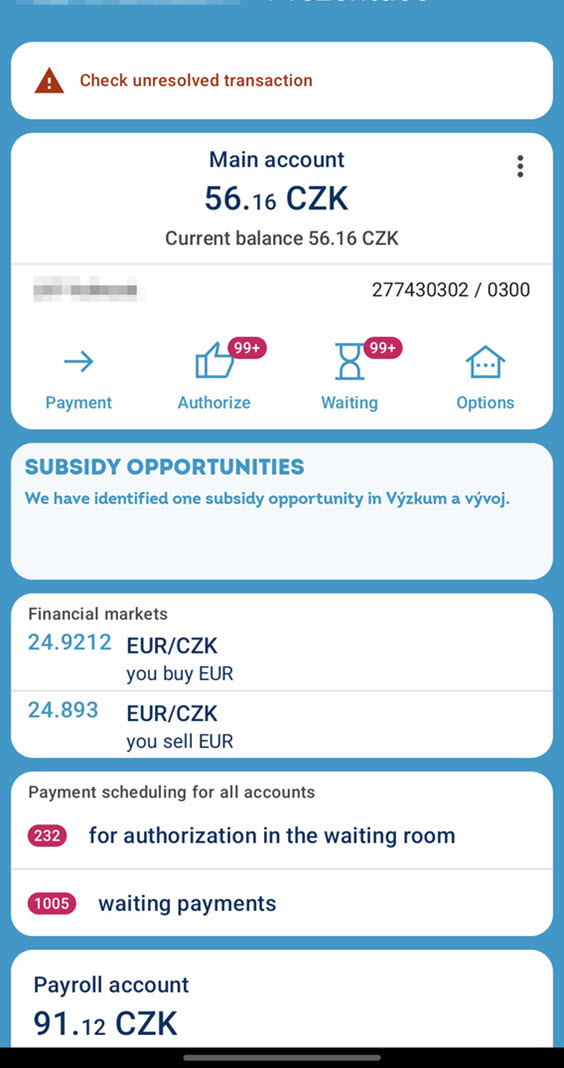
-
From the dashboard, open and view the account movements.
-
Choose one of movements that you would like to generate confirmation for.
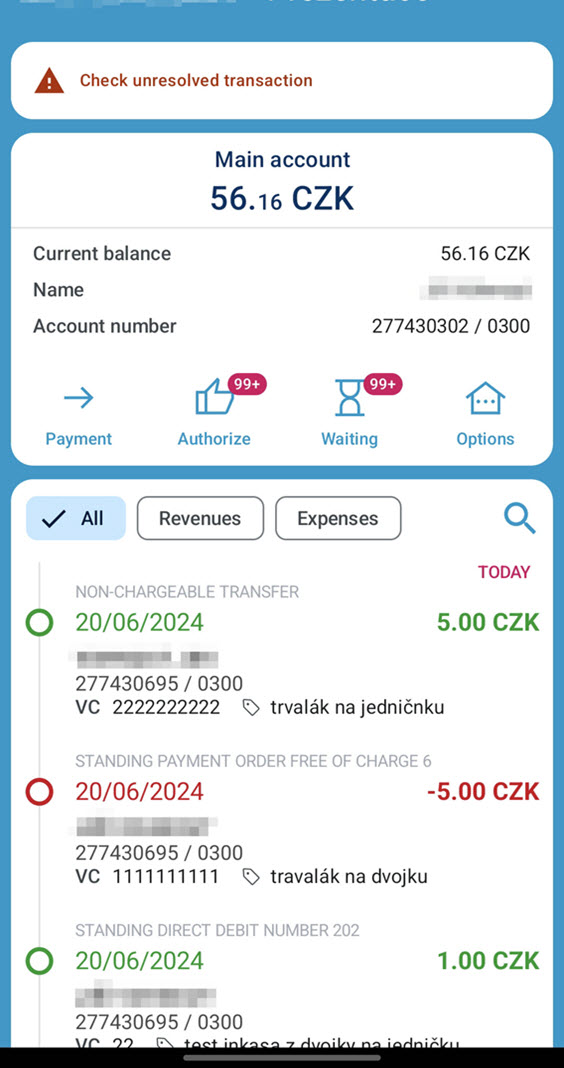
-
In the movement detail, open a context menu (three dots in header).
-
Done – now just confirm the option for PDF confirmation of a payment – and it will download to your
device or options to share with other applications will appear.

Virtual branch – menu navigation and messages in the CEB Mobile
-
After loggin, you can enter the Virtual Branch directly from the dashboard. Here is the option to create
a new request using icon + or tap to the option asigned to me and go directly to the
request overview.

-
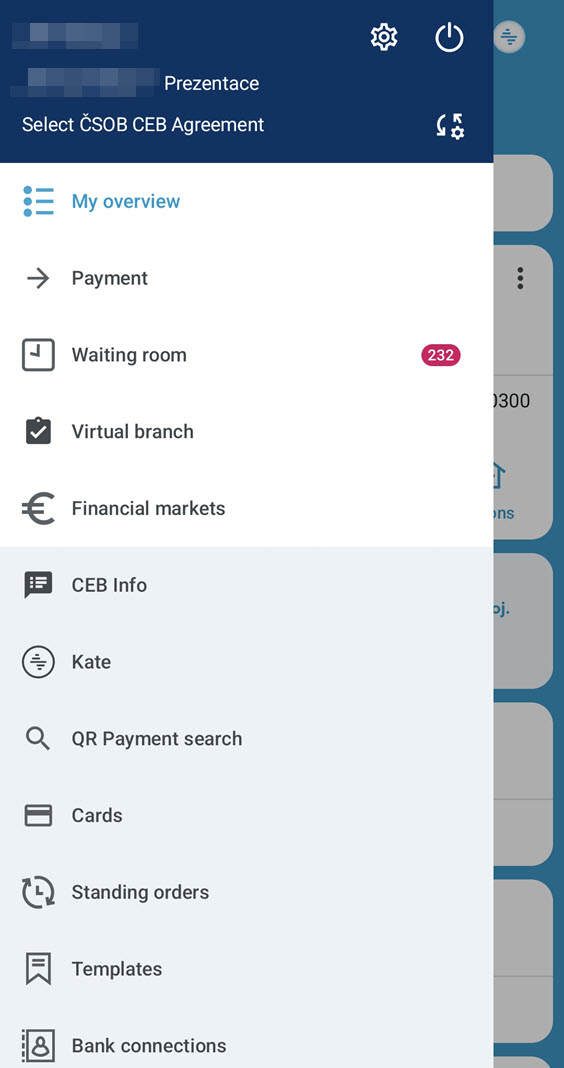
Another option is to select Virtual Branch from the main menu in the top left corner, which will
take you also to the requests overview screen.

-
You can use the preset filters at the top of the screen. The Active option displays only
unfinished requests. The Other option displays all other requests exept the active ones.

-
For searching a specific request, use the magnifying glass icon in the top right corner.
Here you can filter content by the selected parameters. Then tap on Search for displaying rquests
that match your criteria.

-
To create a new request, tap on the shopping cart icon New.

-
You are now in the main menu of the Virtual Branch. The default menu contains all product
categories.

-
Use the search box at the top of the screen entering the name of the request, or simply
filter by given product categories.

-
Here you can choose the requested product or service (e.g. Business account) and tap on the
shopping cart icon (Android) or select Create (iOS) to go to the online form.

-
Continue by filling in the required fields and then sign
the documentation.

-
You can mark frequently used items as favourites on the request detail by selecting Add to
favourites.

-
From this point on, you will allways have this item available from the main menu of the Virtual branch
under the Favourites category (starred).

-
Tap the Archive icon on the request overview to access the document archive menu. Here you can
find all important banking documents (e.g. agreements or applications).

-
There is a magnifying glass icon in the top right corner, which also allows you to search for
documents using selected filters.
